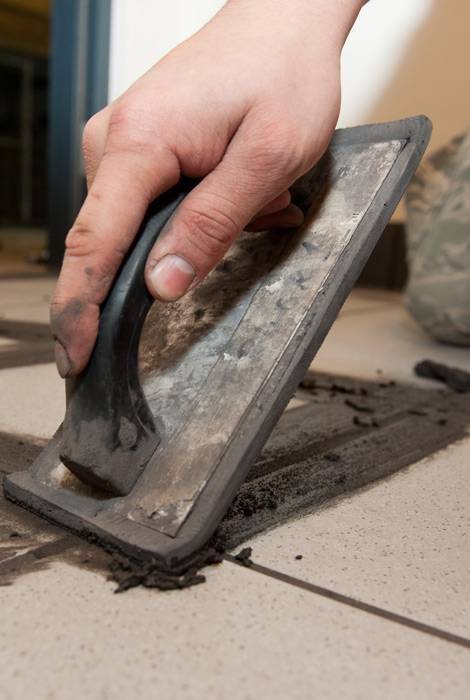
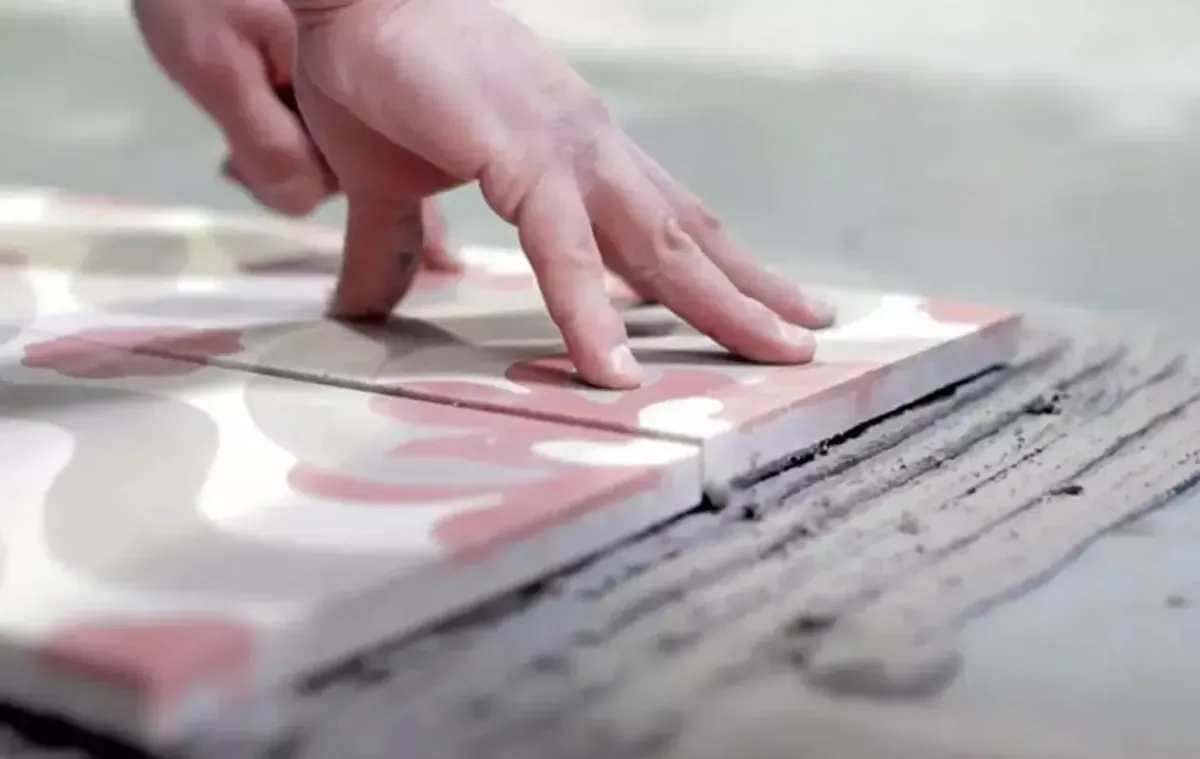
…Or what not to do when diy tiling
The task of completing your own tiling project can be easily achievable with some adequate know-how and the patience to watch glue dry – quite literally. However tiling can be easy, especially if you already have some experience in DIY projects, there are a few common mistakes people make during a DIY tile installation. The good news is that these are easily avoidable, and we’ve put together a list of things not to do when tiling your home.
Poor Preparation
Ever hear that old saying “preparation is key”? Well, this could not be any truer in this case. A common mistake in DIY tiling projects is overlooking this first step and not cleaning the area thoroughly.
Before beginning your tiling project, you should ensure the surface is free from any grease, wax, oil, and curing compounds, as these can interfere with the adhesive and negatively impact your results. So, rule number one of DIY tiling is clean, clean, clean!
Choosing the Wrong Adhesive
Depending on the function of the room, and the composite of tile laid, a specific adhesive is required to ensure a suitable foundation is set. For areas such as bathrooms and swimming pools, a heavy-duty waterproof adhesive critical for a well-executed tiling job that will last through years of use.
Unsatisfactory Planning
Most of the mistakes made by DIY tilers and beginners can be lead back to poor organisation; these are areas that could have been avoided, such as incorrect set out and measurements, not ordering excess tiles as a rule always allow 10% wastage and plan for future replacement tiles as you never know when you will renovate again.

Incorrect Expansion/Construction Joints
All forms of tiles – ceramic, porcelain, glass, and stone, require expansion joints to be installed to allow for the natural movement that will occur. Installing the wrong kind or worse, not including expansion joints at all is a prime example of what not to do when tiling your own home. Lack of expansion joints will result in the tiles being too rigid, which will cause cracks in both the grout and the tile, leading to a premature repair. Always follow the Australian standards for installation of tiles. Most adhesive companys have the information on their bags.
Incorrect Set Out
There is nothing worse than tiles that don’t line up or are laid out of square. To avoid this, tillers always set out the floor or wall by measuring the wall and floor and drawing a horizontal and vertical reference line on the area to be tiled. Where the two lines cross, check that the lines are placed at a 90° angle to each other. Set out tiles from the reference lines making sure that the cuts are even on 4 sides of the area to be tiled.

Once you have worked at a starting point use a straight edge and work off the reference lines to keep tiling work level and square (90° angles).
If you are completing a tiling project in your own home please ensure you take these tips of what not to do when tiling into consideration to ensure a smooth execution. If done right, installing your own tiles can be a time-saving and cost-effective solution!
If you are ready to start your DIY project, have a look at our tiles range, come to see us at your nearest Tile Wizards store, and tile away!
Tile Wizards stores are located across Australia, in and around:
- Sunshine Coast QLD (Tile Wizards in Bokarina)
- Coffs Harbour NSW (Tile Wizards in Coffs Harbour)
- Adelaide SA (Tile Wizards in Lonsdale, Para Hills West, and Richmond)
- Brisbane QLD (Tile Wizards in Springwood)
YOU MIGHT ALSO LIKE TO READ:
Taking the Right Steps for Tile Installation
Planning to install your tiles by yourself? Make sure that you do it the proper way. Tile Wizards shares this helpful guide on the right steps in tile installation…READ MORE


