Avoiding These Tiling Blunders Will Keep You From Wasting Money and Time
Remodelling or retiling your bathroom is a great way to update your house. However, you have to make sure that you avoid common and potentially expensive mistakes so that your money and time will not go to waste.
Common tiling mistakes to avoid when retiling:
1. Not preparing properly
Start at the beginning. Clean the surface by removing dirt and debris. Take steps to make the surface smooth and level. If you don’t do this at the start you will increase the difficulty of laying your tiles evenly. Make sure you have enough tiles and select a water-resistant adhesive. Have the bathroom planned out before you start.
2. Not buying enough tiles
You should buy more tiles than you think you need. The best way to ensure you have enough tiles is to get around 15% to 20% more than you expect to use. This ensures against breakages, miscalculations, and difficulties in cutting to size. You can keep spare tiles in reserve in case any tiles become cracked in the future.
3. Not using tile spacers
Spacing tiles evenly is very important as the spacer allows for the tiles to expand and contract. Wall tiles generally use a 1.5 mm spacer, floor tiles will use a 3 – 5 mm spacer. If you do not have spacers, a match stick or thick cardboard will also do the trick.
4. Improper spreading of adhesive
Before fixing tiles to a wall, make sure the adhesive is applied vertically with an appropriate sized notch trowel depending on the size of the tile you are using: 8 – 10 mm for walls and 10 – 12 mm for floors. The tile is then pressed into the adhesive with a slight twist action to maximize adhesive coverage. A tile that has been adhered correctly should have a 95% coverage of adhesive to the back of the tile.
5. Grouting too quickly
Once you’ve finished laying the tiles, you should wait until the adhesive is fully set, which is usually around 24 hours, before grouting. Check the recommended time on your adhesive packaging or ask one of our friendly staff for advice.
Tips in Proper Grouting
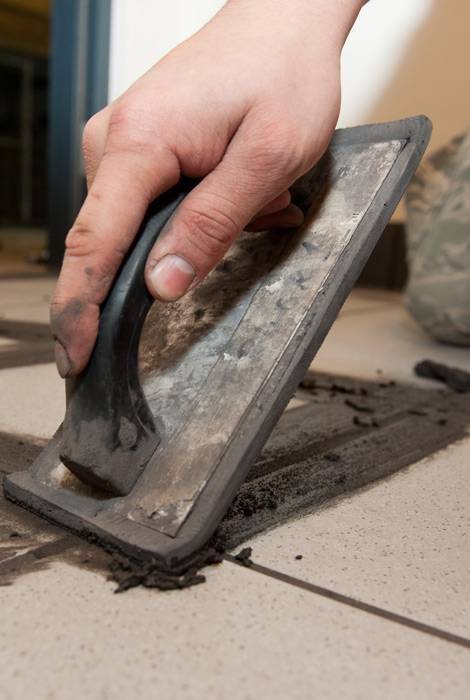
Apply grout at a 45-degree angle and make sure that the grout is pushed into all the tile grout joints. Do not apply to much grout at a time to make it easier to sponge off. Less water in the sponge is best, and only wipe the grout at a 45-degree angle and turn sponge over once the grout is being left behind by the sponge. Leave all the internal corners free of grout so a flexible Silicon sealant can be applied once the grout has dried.
Once the grout has dried, it is very important to buff the tiles with a white dry rag to remove the cement residue left behind from the grouting process. Wear a mask if required.

Apply Grout Sealer
Once you have applied the grout, A penetrating sealer should be applied to all grout joints 1 to 2 coats is generally enough. The sealant prevents moisture from penetrating the grout lines and will ensure your new tiled area will last for years to come.
Make sure you ask for advice on anything you are unsure about. DIY is a great way to save money and improve your home…but only if it is done correctly. Stop by a Tile Wizards store and seek advice from our friendly and knowledgeable staff!
Tile Wizards stores are located in and around Brisbane, Adelaide, Sunshine Coast and Coffs Harbour.
YOU MIGHT ALSO LIKE TO READ:
Install Your Flooring Yourself, or Ask a Professional?
Now that you have your materials ready, should you do your flooring installation by yourself or should you hire a professional? Going DIY has its advantages, but there are disadvantages as well. Take these tips and advice from Tile Wizards to help you decide…Read more


